Deep Dive into Advanced Malware Analysis: My Experience at CyberFire Foundry 2025-2
Introduction
CyberFire Foundry is a hands-on cybersecurity training event organized by the U.S. Department of Energy (DOE).
The event focuses heavily on practical exercises rather than theoretical lectures, and covers a wide range of cybersecurity domains.
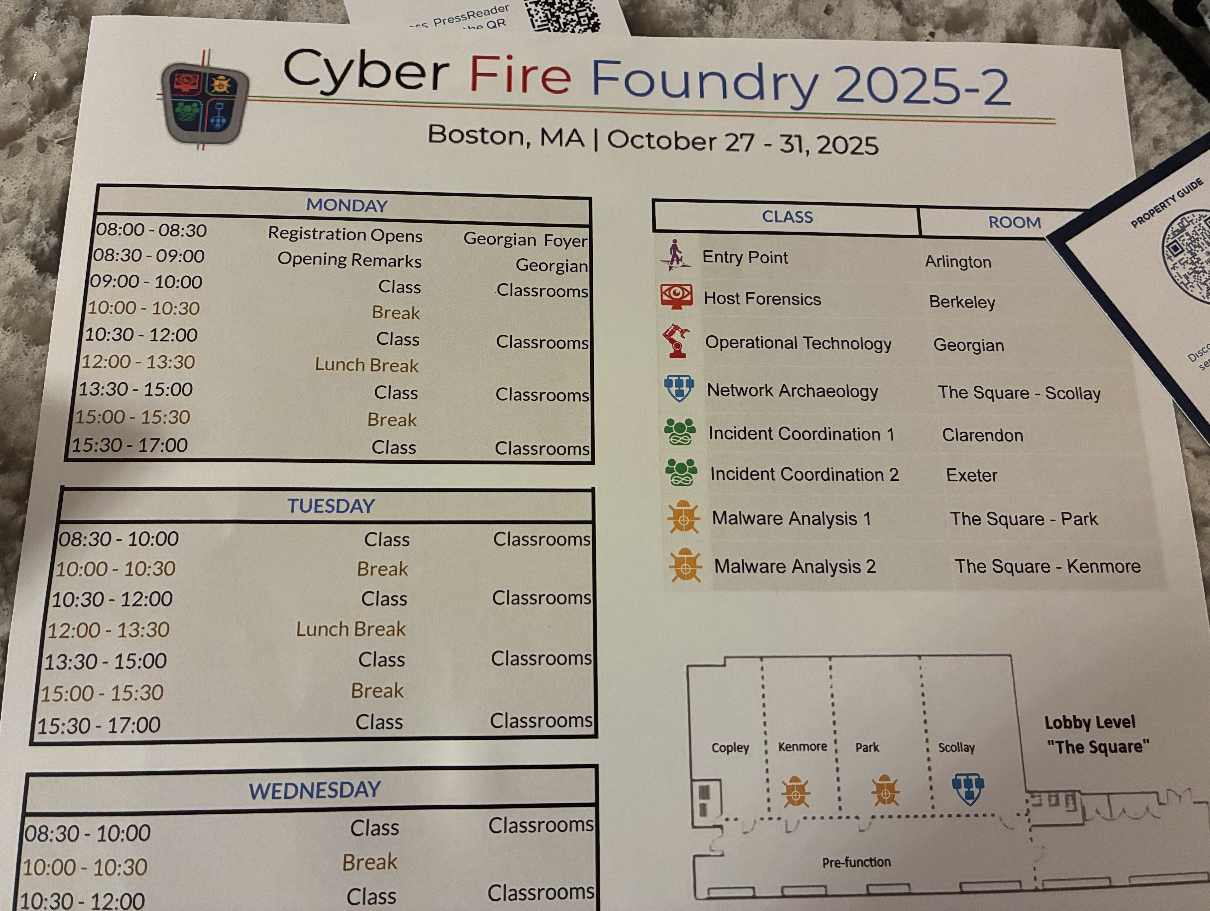
This is the official schedule for Foundry 2025-2, which I attended this year:
https://cyberfire.energy.gov/foundry/2025-2/#s=Schedule
The courses span multiple areas, including:
- Network Archaeology (packet analysis)
- Host-based forensics
- Malware analysis
- Industrial Control System (ICS / OT) security
The event was held on the first floor conference area of the hotel:
- Hotel: Hilton Boston Park Plaza
The actual event dates were October 26 – October 31, 2025, which were slightly different from the dates listed on the website:
- 10/26 (Sun): Check-in opened at 5 PM (optional; you could also check in the next day)
- 10/27 (Mon) – 10/29 (Wed): Classes
- 10/30 (Thu): Team challenge (optional; some people left early)
- 10/31 (Fri): Competition ended at noon, followed by Q&A with challenge authors
At check-in, each participant received a printed schedule showing daily classroom locations and course outlines:
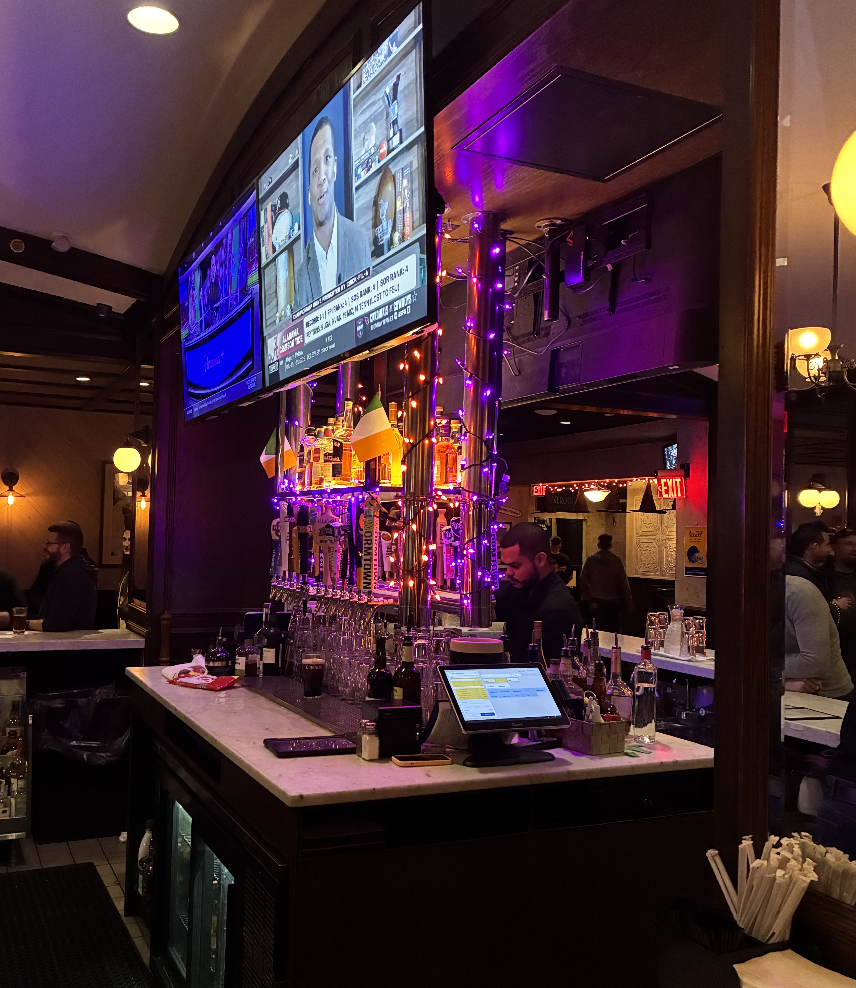
One evening during the event, there was an optional social gathering.
It was mostly an informal networking event where people had drinks, snacks, and met cybersecurity professionals from different countries.
To enter the venue, you were required to bring both your passport and the student badge provided by the event.
Below is a photo from the evening social event:
The course I attended was Malware Analysis 2 (Malware-2), which is the advanced malware analysis track.
What is Malware Analysis 2
The following description is taken directly from the official course overview:
For malware analysts or those who have already taken a course on malware analysis. Those who choose this track should have a strong knowledge of Windows internals and be comfortable working with binaries in a debugger. We will spend 3 days delving into more advanced malware analysis methods such as unpacking, kernel callbacks, defeating anti-analysis, patching, analyzing malware written in modern languages such as Rust/Golang, malware family tracking, and more.
Covering such a broad range of advanced topics within only three days is extremely challenging.
In practice, each topic was typically allocated 2–3 hours before moving on to the next one, which is understandable given the time constraints.
Personally, I was most looking forward to the part mentioned in the description about Rust / Golang malware analysis.
Unfortunately, this topic was not deeply covered during the course.
There was one lab where the malware sample happened to be written in Rust or Golang while demonstrating analysis via MCP, but the same workflow would apply equally to binaries written in C or other languages.
The focus of that section was clearly on using MCP, rather than on language-specific malware characteristics.
The three-day course mainly covered the following topics:
- Common packers and basic unpacking techniques
- Stack string decryption
- Time Travel Debugging (TTD) using WinDbg
- Windows Internals fundamentals
- Automating license check cracking by connecting x64dbg and Ghidra via MCP using a VS Code plugin
- Common anti-debugging and anti-analysis techniques seen in modern malware
The course was extremely hands-on.
For most topics, there was 30–60 minutes of explanation, followed by 2–3 hours of practical exercises.
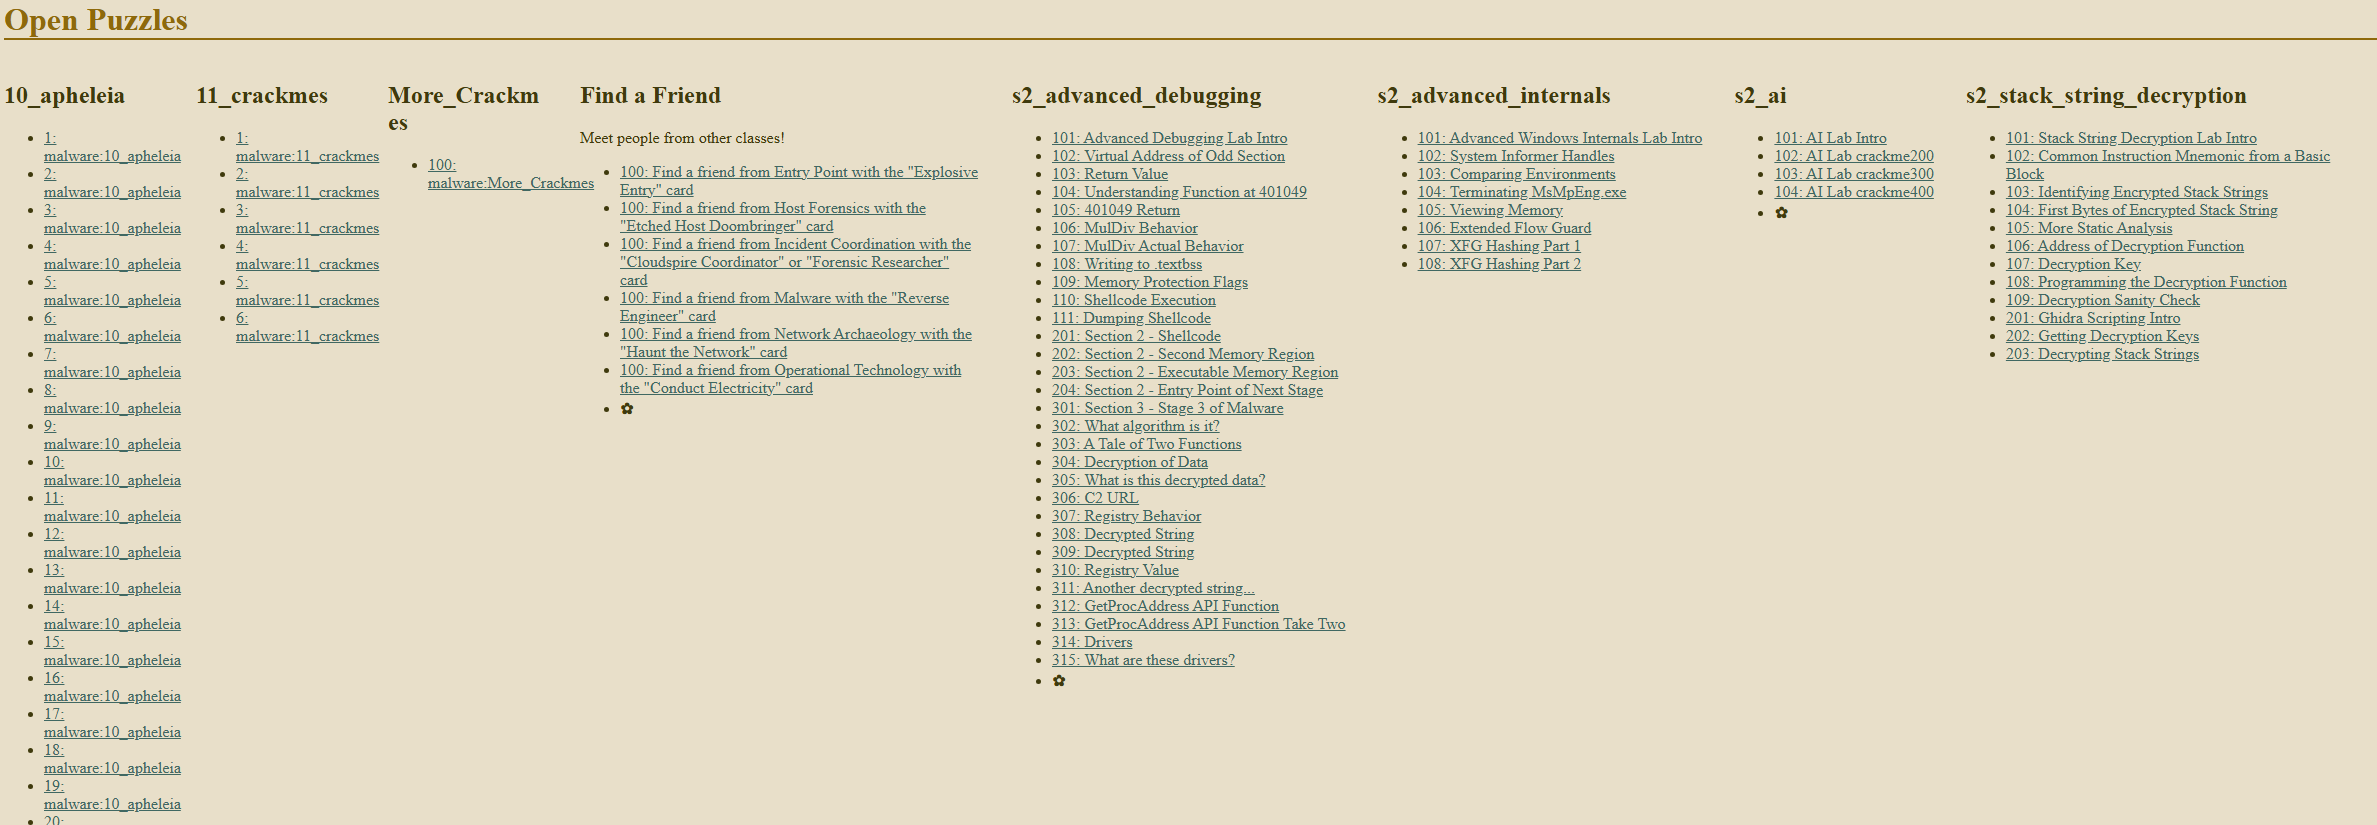
The lab platform was designed in a progressive manner:
you needed to successfully solve a challenge and submit the correct flag before the next challenge became visible.
This created a continuous flow of problems, giving the impression that the challenges never really ended.
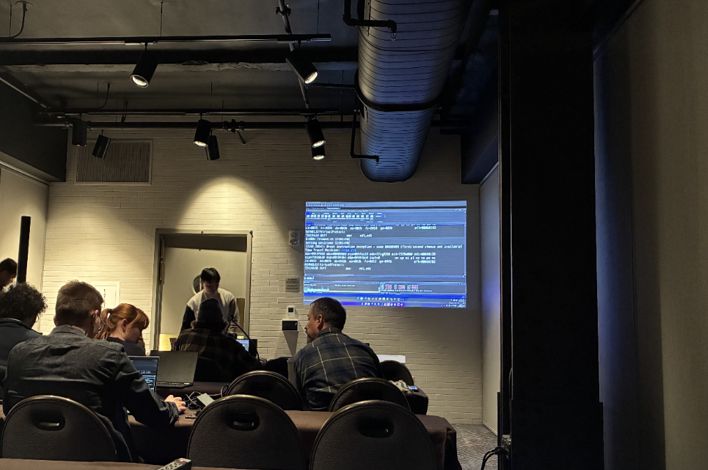
Below is a photo taken during class:
As a side note, I was told that Malware Analysis 1 focuses more on assembly language fundamentals.
Course Materials
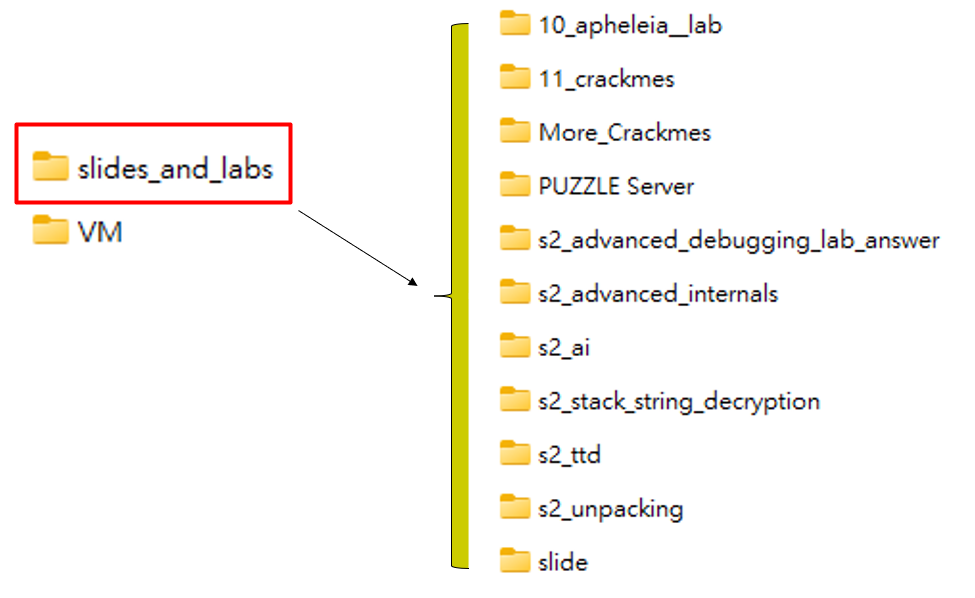
Before the course started, participants were provided with a virtual machine (VM) that contained all required tools and malware samples used in the labs.
During the course, instructors also shared a web portal containing slides and lab materials.
A simplified overview is shown below:
There was also a web-based lab interface with a large number of hands-on challenges and a scoreboard:
Class Experience
Finding Teammates
On Day 4 and Day 5, a team-based challenge was held, covering multiple cybersecurity disciplines.
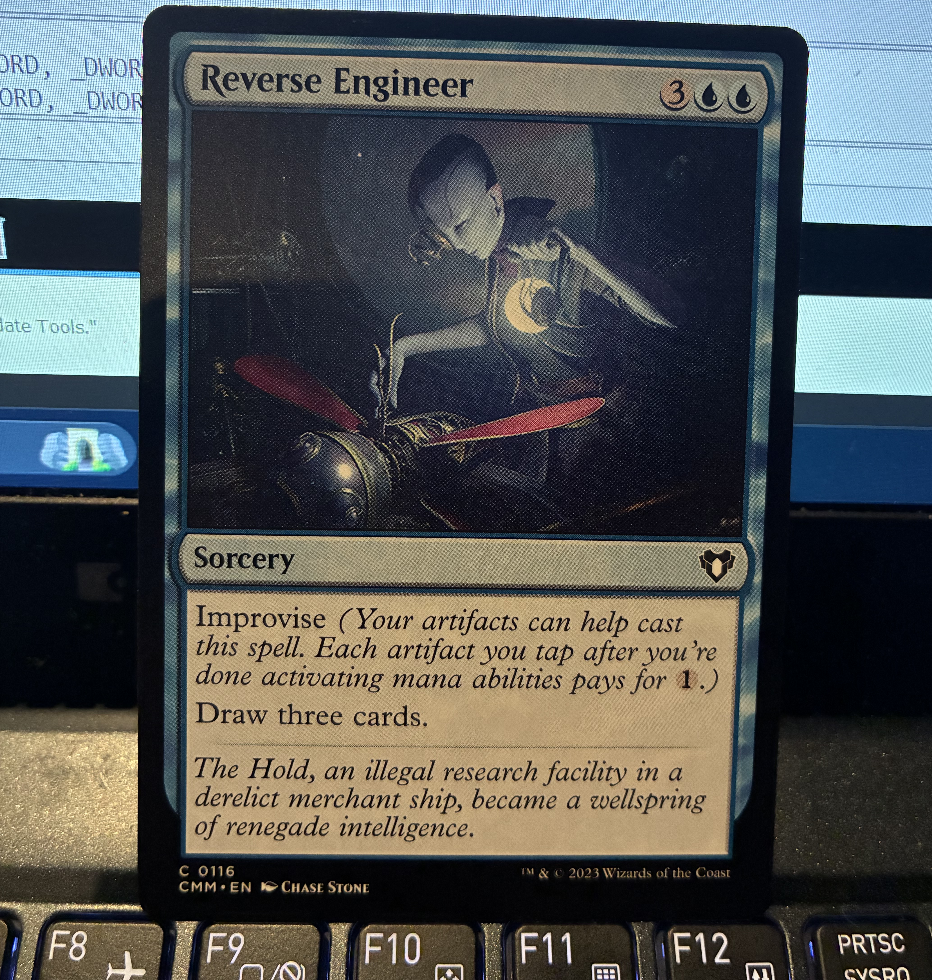
On the first day, instructors distributed small cards and encouraged participants to visit other classrooms, meet new people, exchange cards, and then report back to their instructor.
Each successful exchange awarded points on the course scoreboard, which was a fun way to encourage networking.
Unpacking
Common packers can often be identified using tools such as:
- Detect It Easy
- PEiD
For manual unpacking, x64dbg was commonly used.
Typical execution flow looked like this:
- A large number of
pushinstructions at the beginning - One or more loops in the middle (which can often be skipped using
F4) - A sequence of
popinstructions followed by ajumpto the original entry point
That final jump usually marks the end of the unpacking process.
During analysis, it is common to synchronize the base addresses between IDA Pro and x64dbg.
This can be done manually or via existing plugins.
Since Windows enables ASLR by default, tools such as PE Studio or CFF Explorer can be used to disable ASLR to simplify debugging.
Time-Travel Debugging
TTD was practiced using WinDbg, and it was one of the most interesting features introduced in the course.
TTD records memory state—including registry data—at every execution step.
This allows analysts to move both forward and backward in time, similar to VM snapshots.
This is extremely useful for modern malware analysis, as many samples:
- Load an encrypted payload
- Decrypt it in memory
- Jump to the decrypted code
With TTD, it becomes easy to inspect memory at each stage of decryption.
Another advantage is that TTD trace files can be shared with other analysts, allowing teammates to continue analysis from the same execution timeline, which greatly improves collaboration.
Malware & AI
This section focused on a VS Code plugin called RooCode, which required configuring:
- An OpenAI API key
- MCP-related configuration files
Inside the VM, two MCP services needed to be running:
- x64dbg
- Ghidra
Once configured, analysts could interact with AI through natural language, allowing it to control x64dbg and Ghidra to assist in reverse engineering.
The setup itself was straightforward—mostly copying files and running services.
The harder part was probably the API usage cost
Windows Internals
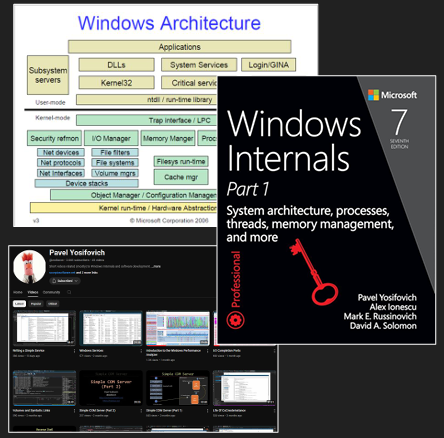
The course briefly referenced the classic Windows Internals book.
Naturally, there was no time to go into detail.
Only key concepts were highlighted, and deeper understanding was left as an exercise for the reader.
The image below was taken from the course slides:
Debugging
In this section, the instructor demonstrated a real-world malware sample associated with an APT group.
The walkthrough included:
- Basic PE file analysis
- Setting breakpoints on specific Windows APIs
- Dumping decrypted payloads from memory
- Analyzing shellcode
- Investigating C2 communication and data transmission
The workflow closely resembled real-world malware analysis scenarios.
The instructor also adjusted the focus based on participants’ interests, spending more time on topics people were most curious about.
While many attendees were interested in this debugging section, I personally wished there had been more emphasis on AI-assisted analysis or Rust/Golang malware, which was slightly disappointing.
Team Challenges
Our team consisted of three participants from Taiwan and two international participants.
One international teammate left at the beginning, and the other left after lunch, leaving the three of us to handle most of the challenges.
The challenge system worked as follows:
a challenge would only unlock if someone in the entire event successfully solved the previous one and submitted the correct flag.
This meant:
- If you solved the first challenge first, everyone could see the second challenge
- If no one solved a particular challenge, all subsequent challenges remained locked—even after the competition ended
The challenge topics were very diverse, including:
- ICS security
- Network packet analysis
- Log analysis
- Memory forensics
- Malware analysis
- MISC challenges (image analysis, math problems, etc.)
I mainly worked on malware analysis challenges.
After finishing all of them, I helped with some forensic tasks as well.
What made me particularly proud was that I was likely the first participant to complete all malware-related challenges.
Despite having only two active team members most of the time, we reached second place about an hour before the competition ended.
Although we later dropped in ranking, many other teams had 8–12 members, so the result was still very satisfying.
Thoughts on the Challenges
Although it was called a competition, it felt more like guided training.
Using malware analysis challenges as an example, the typical flow was:
- Use tools like CFF Explorer to identify packers and inspect PE metadata
- Use IDA Pro and x64dbg to inspect key Windows APIs and memory locations
- Dump decrypted payloads and continue reverse engineering
- Identify and analyze C2 communication
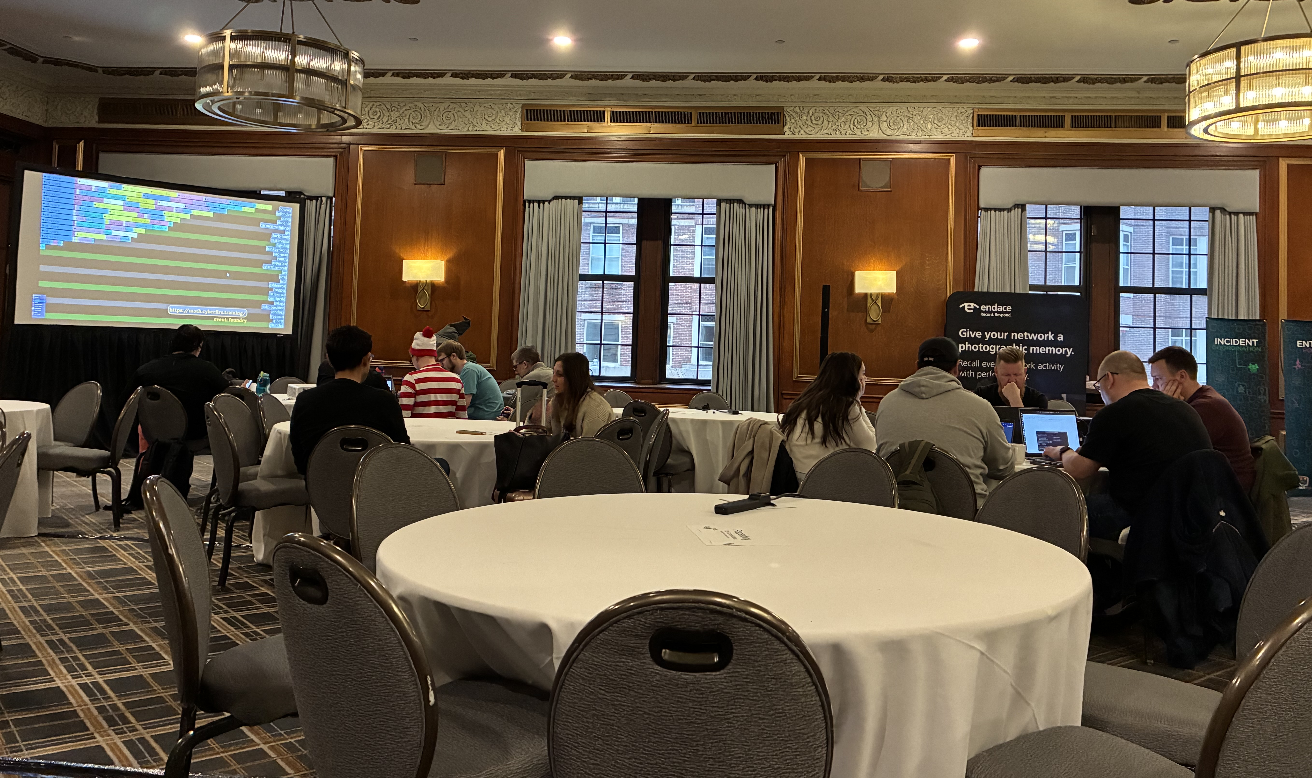
Below is a photo of the challenge area and scoreboard:
Conclusion
Due to time constraints, none of the topics could be explored in extreme depth.
Reverse engineering itself was already familiar to me, but the course was still very rewarding.
The two most valuable takeaways for me were:
- Automated malware analysis using MCP with Ghidra and x64dbg
- Time Travel Debugging with WinDbg, which was genuinely fascinating
The only major disappointment was the lack of in-depth coverage on Rust/Golang malware analysis.
Overall, CyberFire Foundry 2025-2 was a highly valuable experience, and I would strongly recommend it to anyone interested in hands-on cybersecurity training.